YOU MUST BE A MEMBER OF THE GROUPS.IO TRANSCRIBE GROUP
Step 1: Ensure your scan does not exceed 500 kb, but is large and clear enough to read.
Step 2: Upload image to your folder.
Step 3: Complete and submit the member form found at https://www.transcribe-group.com/transcribe/members.php
Step 4: Post a message or send an email to the group describing your scan and your needs to the list.
Step 5: Be patient.
Step 1: Ensure your scan does not exceed 500 kb, but is large and clear enough to read.
We recommend using IrfanView, free software that can be downloaded at https://www.irfanview.com/main_download_engl.htm for editing your image, particularly if you will need to ask us for assistance. IrfanView automatically compresses file size, making it easier to meet the file size limits, and allows us to give specific instructions on the process which we might not be able to do on a different piece of software.
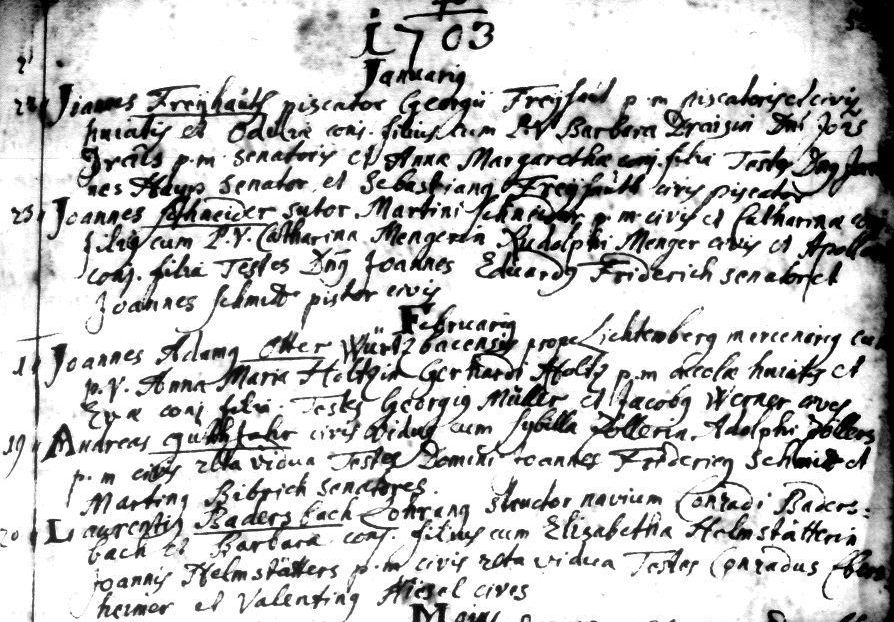
If you have an image larger than that allowed by list rules (500k), it will be necessary to reduce the size of the image. In this example, only a portion of the scanned image is required for transcription. Going to the upper left hand corner of your image, left-click on your mouse and hold it down while moving the mouse to the right and down the image, creating a box around the area of interest. When your selected image is completely within the newly-drawn box, release the mouse. You'll see something that looks like this.
After you've drawn your box and are sure the entire area of interest falls within the box, go to the task bar on IrfanView and select "edit". A drop-down menu will appear. Within that menu, you'll find the selection to "crop selection". Click on that phrase and your image will be automatically cropped to include only that which was within the drawn box. You're now ready to either save your image or continue editing.

If you're ready to save your image, click on the first selection on the task bar titled "file". You'll see a drop-down box that will provide both "save" and "save as" for your choice of file name and type. Select one of those and move to the next step. This drop-down box allows you to check the size of the image to be sure it meets list requirements of less than 500k. You can do so by clicking on "information".
There is also a selection for "Negative". If your copy was one of a filming in the negative mode, you can use this option for switching it to a positive mode. In most instances, the positive mode will provide a more readable copy for the volunteer. If there is clutter in your image, you can choose the "Sharpen" option. This will alter the text to be more readable. Be careful, though, not to overdo the sharpening. After a certain point, the writing will lose its definition. If that happens, you can also select the "undo" icon which is the seventh icon from the left on the task bar on IrfanView.

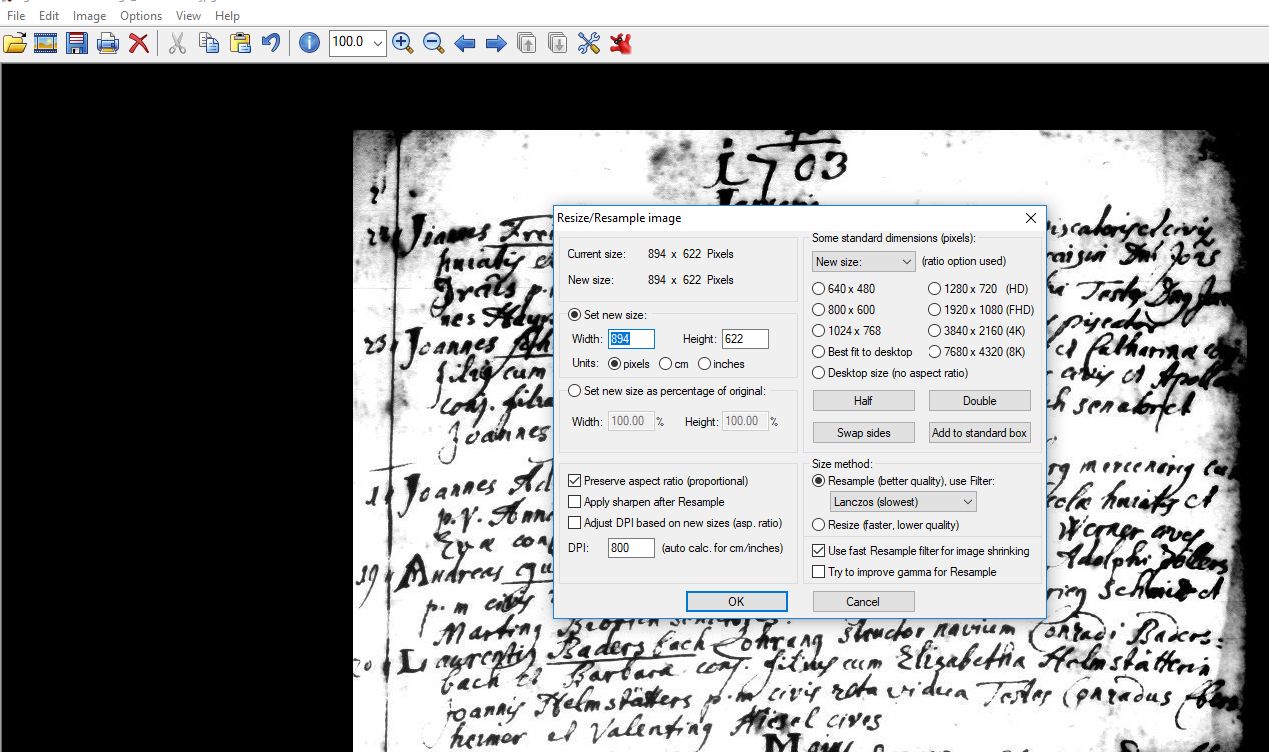
If you need to resize the image to either make it more readable or to reduce the size to meet list requirements, you can do so by clicking on "resize/resample". You'll then be offered the option of choosing which size would be best. When you've selected the size change, click OK and IrfanView will follow your instructions.
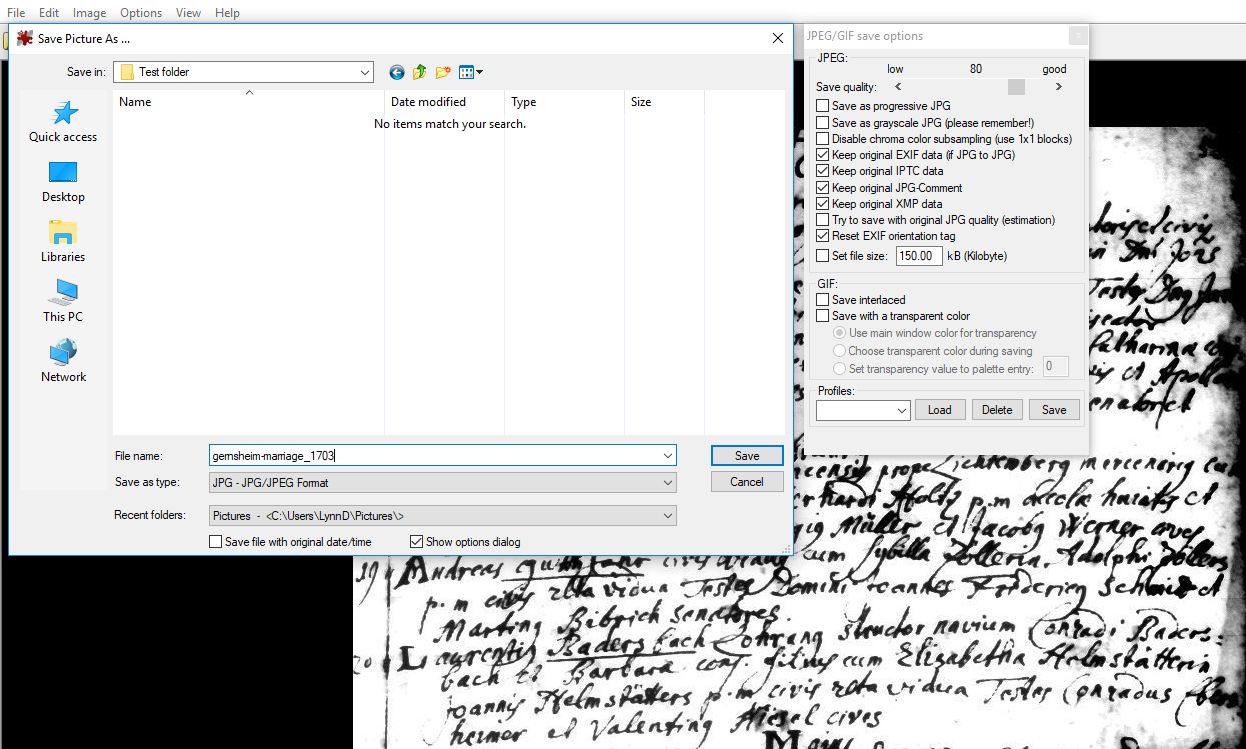
A new box has appeared. In this you will determine where your scanned image will be saved as well as the file type. Be sure you've selected "JPG" as the manner in which you choose to save your file. Once you've selected the file in which to save your image, highlight the file name and click on "save". Your image has now been saved. Be sure to remember where it is because you'll need to locate it once more in order to post it to your folder.
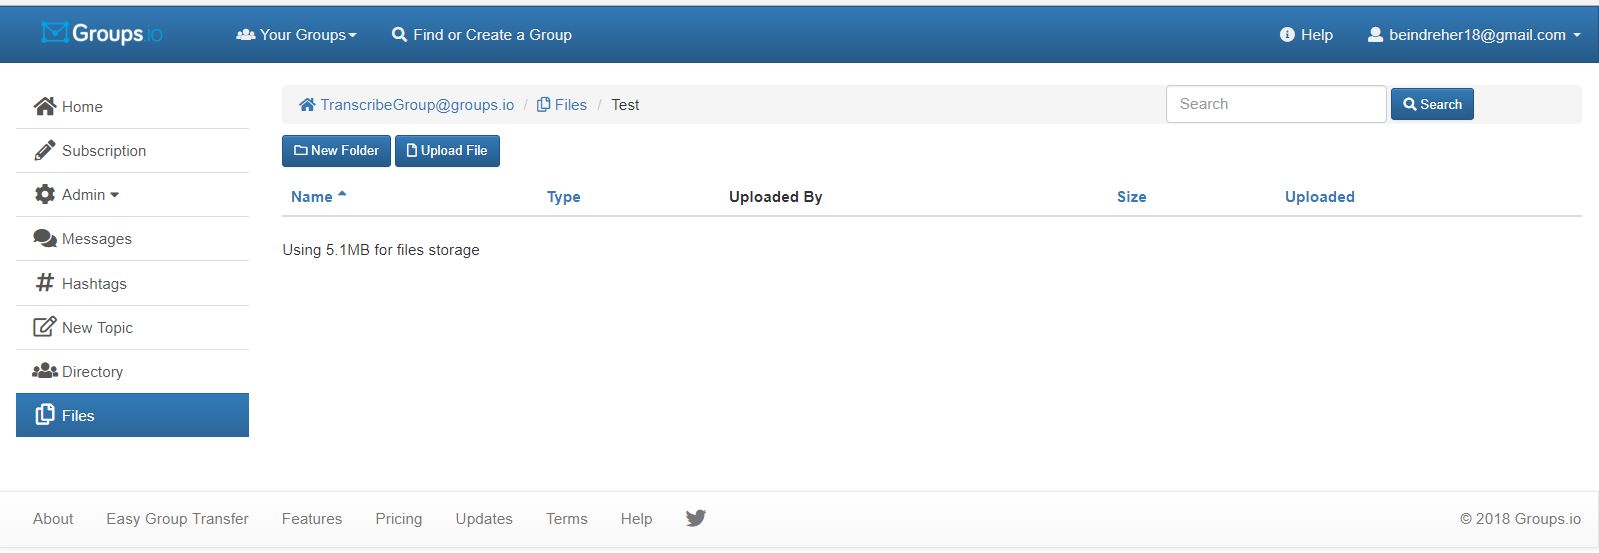
Step 2: Upload image to your folder.
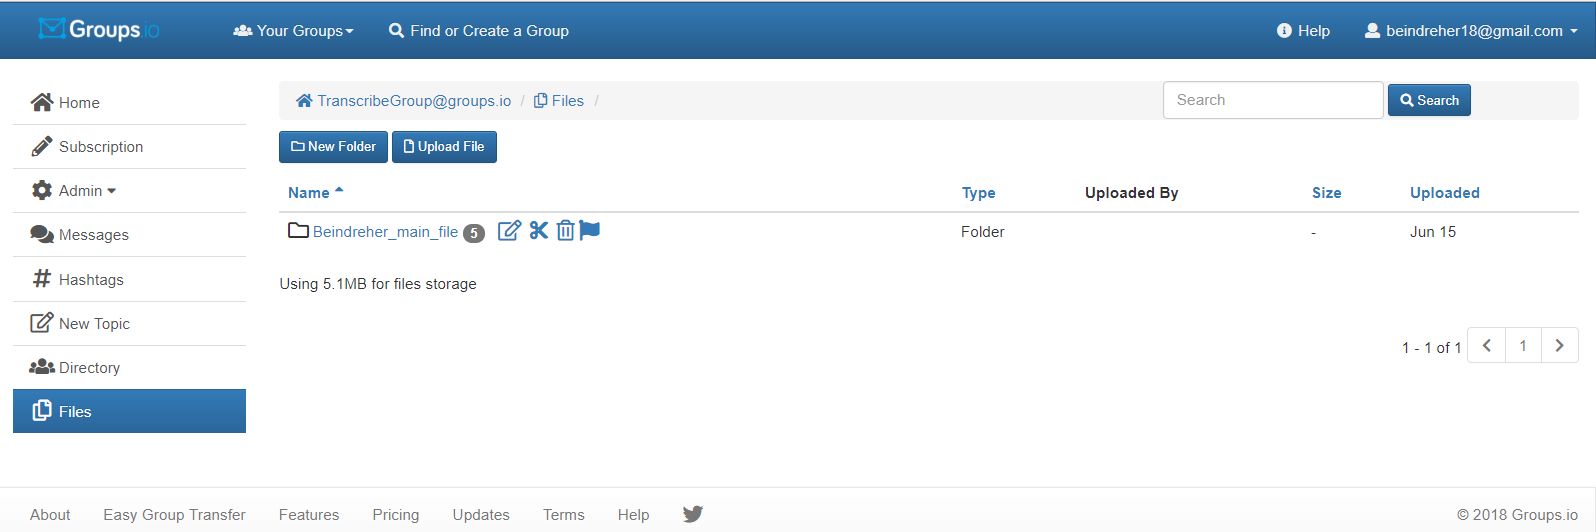
On the "files" page, you'll see two selections at the top of the folder listings: New Folder and Upload File. To create your own folder for your scans, select "New Folder".
Name your folder. It will be helpful to the volunteers if you use your name for the folder. It will make your folder easier to locate on the "files" page. You can add details to the "description" blank by identifying "church records" or "immigration documents" or whatever you choose. When you've entered your information in both spots, click on "Add" and you're done. You're now ready to move on to adding a file to your folder.
If you go to your folder and click on it, you will be taken to a page where you have two choices: New Folder and Upload File. For the purposes of adding a scan to your folder, click on "Upload File".
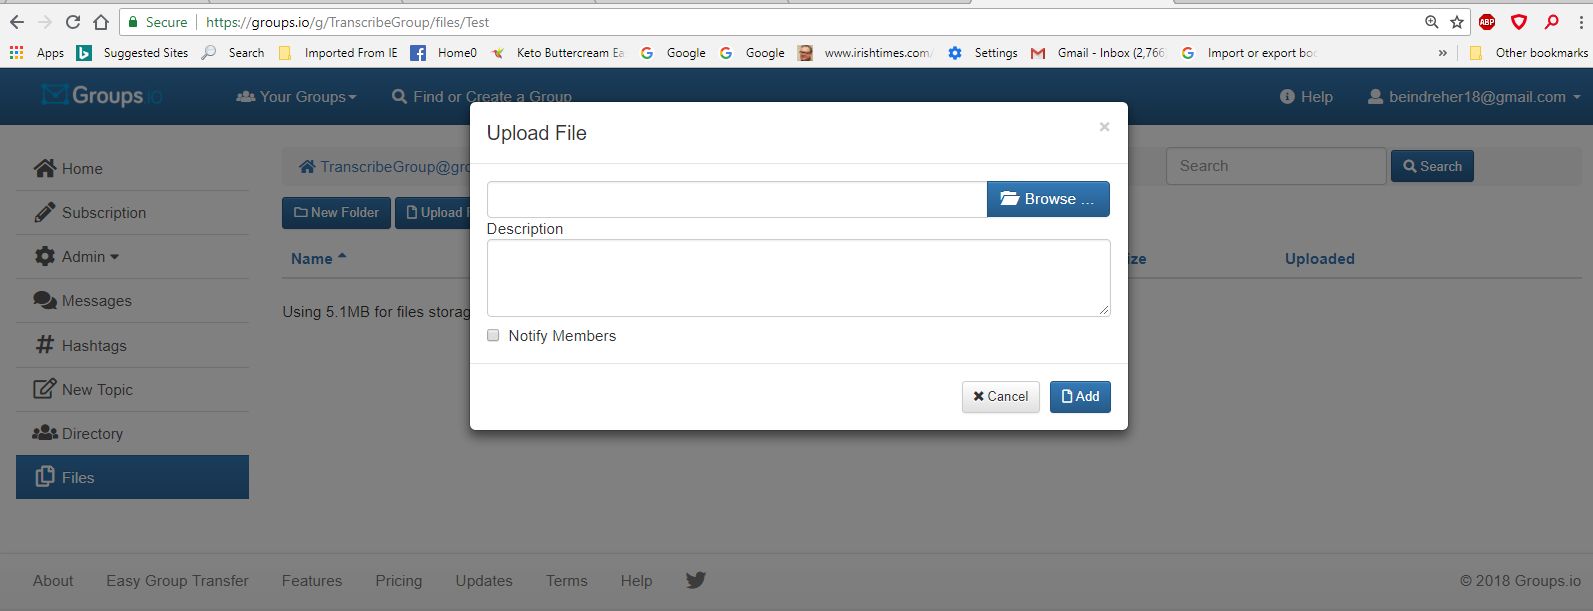
On this page, click on "browse". A pop-up box will appear where you will need to locate the saved file with your scanned image. You can add a brief description of the image here. Full details will be included in the personal announcement message posted to the group.
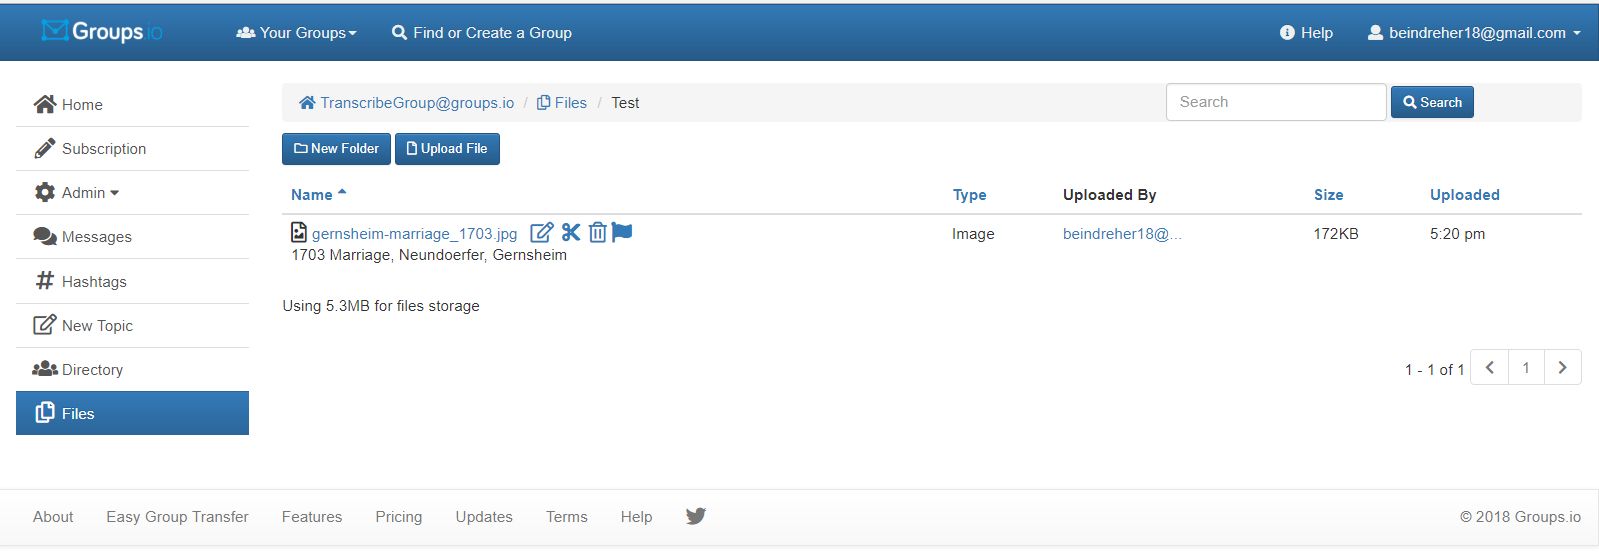
Select the file with the saved scanned image and click on "open". The file will then be ready to be placed into your folder. Add a brief description of your scanned image and select "Add". This is the final step to adding an image to your folder.
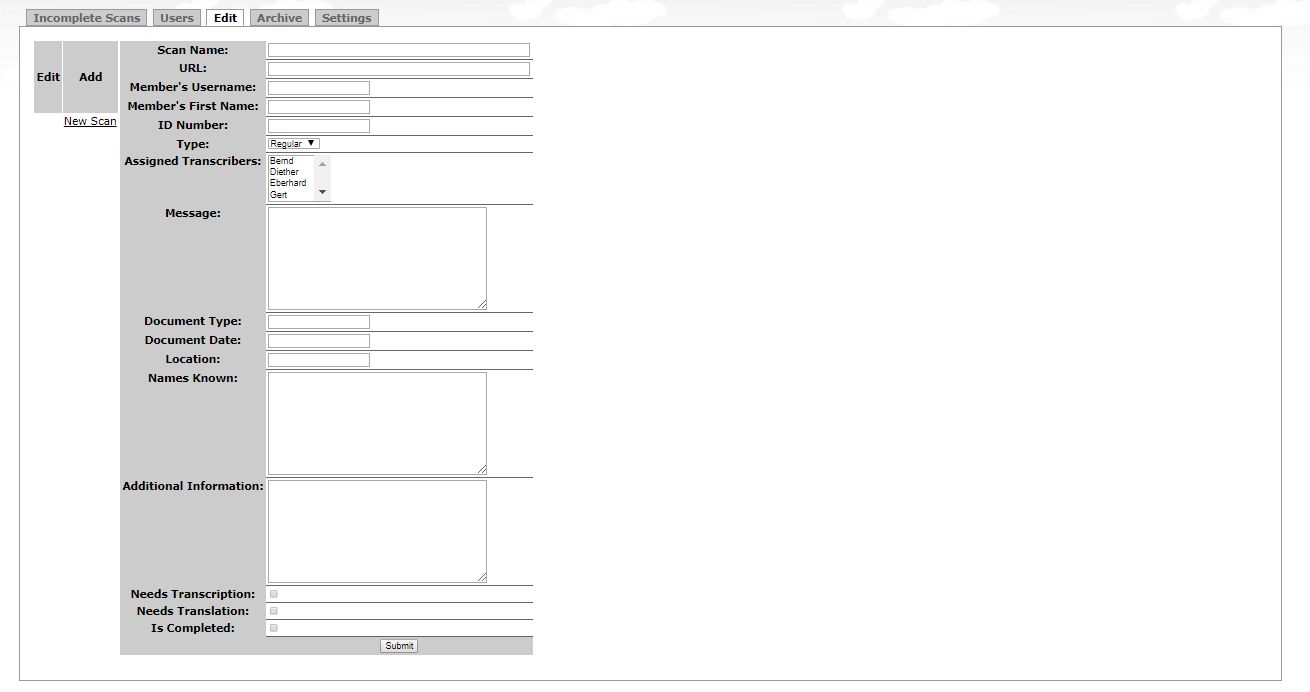
Step 3: Complete and submit the member form found at https://www.transcribe-group.com/transcribe/members.php
Once your scanned image has been placed in your folder, go to the member's database link and complete all fields in "Submit a Request". Your request will not be accepted until this form is complete and submitted and all rules and guidelines have been met. Please ensure all images do meet the guidelines in order to be successful in requesting a transcription/translation.
The message page for Transcribe Group will look like this, with a representation of posted messages.
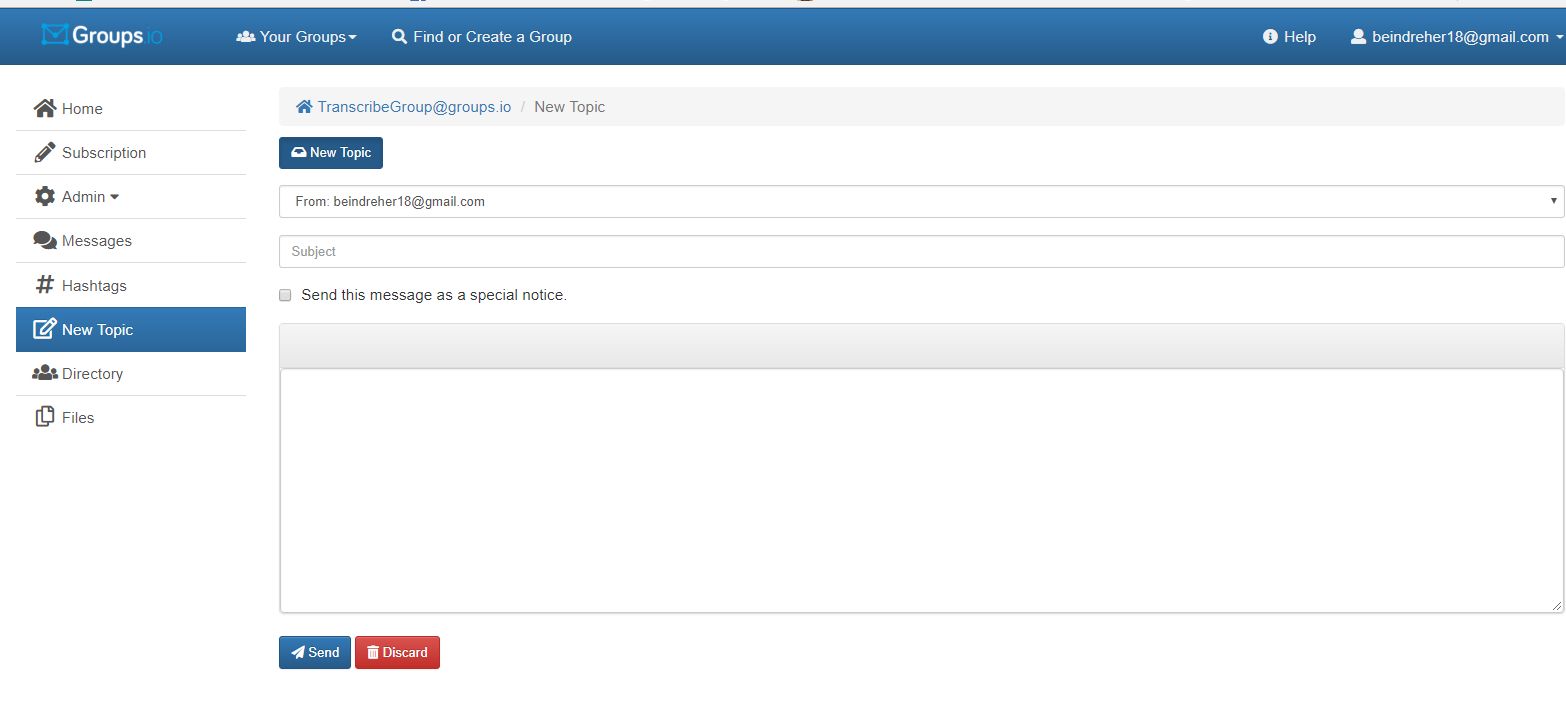
Step 4: Post a message or send an email to the group describing your scan and your needs to the list.
Select "New Topic" from the left-side of the page. That will open up a blank messsage in which you can add details and your needs that mirrors the image you uploaded earlier. Please use the same title in the subject line as you did in naming your image and creating an entry in the Member Submission Form. This will help us track requests more efficiently.
Once your message has been sent to the group, the volunteers can accept your request for assistance.
If there is a need to reply to a posted message, merely open that message and select "Reply".
Step 5: Be patient.
Some requests may take more time than others to transcribe and translate. Occasionally, a volunteer will need to request assistance from another volunteer in order to complete the work. Patience is important. Remember, these are volunteers who are sharing their extraordinary abilities and time with us and helping us with our research.
Always be sure to offer your note of gratitude to the volunteer who provided the needed information to you.